
How To Install A uPVC Door
In this post we examine the process of installing a UPVC door. How you prepare for the job,...
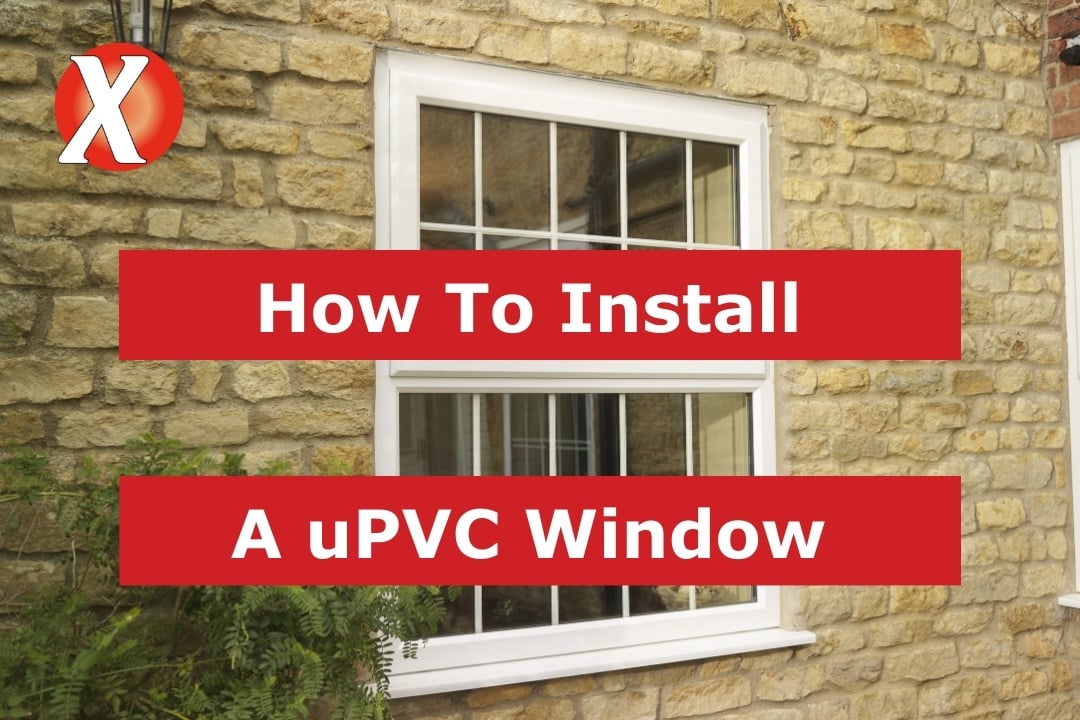
In this post we will look at the process of fitting a uPVC window from start to finish, this will include preparation for the job, how to remove the existing window, preparing and fitting the cill, fitting the new window, installing the glass and completing your installation. The video below outlines the process.
Remember, when measuring the windows, ensure you allow the required expansion gap of 5mm either side of the frame. This will give you room to square the frame in the open care must be taken to ensure the structure is secure and it is safe to remove the existing window.
Before any installation work is started, ensure check the size, style and condition of the new window against the survey size and the actual aperture size.
To make it as easy as possible to handle, remove as much of the old frame and glazing as possible. This will reduce the overall weight of the frame. Break the bond between the frame and the wall by running a sharp blade around the edge of the frame.
When ready remove the fixings around the frame. Using a flat pry bar, loosen and wedge the window away from the wall, taking care not to damage the surrounding area.
Once the window is removed, you'll need to clear off any sealant or debris left around the opening.
Remove any loose mortar and recheck the measurements.

Fit the cill end caps to the seal with super glue. The seal can either be straight cut to the width of the window frame or in some cases, like this installation, rebated to form a horn around external brick as more of a feature.
Run a bead of silicone along the edge. And cill upstand before fixing it to the window.This is to prevent the possibility of water blowing through the joint and moisture from tracking on the cill and into the brickwork.
Remove the corner protectors and protection tape. Secure the cill to the bottom of the window frame using appropriate PVC screws. We're required, attach any frame extenders. Run another bead of silicone at both ends of the head and cill to make sure it is watertight.
Carefully place a new frame into the opening, making sure it's central. Use packers all around the frame, checking its level, square, and plumb, and the 10mm expansion gap is maintained.
Double check the frame is plumb and level before drilling fixing holes in the sides of the frame. Fixing should be a 150mm from the top and bottom corners, and at approximately 600mm centers in between.
Pre-drill the frames at the required spacing before them in place with suitable fixings, taking care not to overtighten them. Ensure the packers are used adjacent to each fixing. It's important that these
packers cover the full width of the frame to prevent distortion when tightening the fixings.
Additional fixings will be required to the top and bottom of the frames are over 600mm in width.
TIP: Place silicone in the pre-drilled holes that are through the bottom of the frame before inserting the screw. This prevents water entering the frame. Once you've inserted the fixing screw, seal with more silicone to create the watertight seal.
Remove the glazing beads ensuring you do not mix them up as they need to go back in the same position. Any dirt or dust needs to be cleaned from the frame before the installation of the glass can begin.
Insert the bridging packers around the opening. Failure to use these will mean water will not drain out of the frame which could lead to unit failure.
This is a fixed pane of glass, but opening casements will need to be toe and healed. See our separate video for further details.
Now install the glass against the bridging packers. You'll notice that there is a gap between the edge of the glass and the bridging packers. You will need to push glazing packers in these gaps ensuring the unit remains square and parallel in the aperture until it is firmly held in position.
Once you are happy with the condition of the unit and the packers, use silicone to secure the packers in place and prevent them moving.You can now refit the beads ensuring they go back in the right place.
Always start with the shorter beads first. Place the back of the bead into the groove, then use a rubber mallet to tap it into place. Tapping on the edge where the bead meets the frame.
Once the glass is fitted, clean the glass and the frames to remove any dust, before sealing the frame to the internal wall or cut and fit any internal trims. That completes all the internal work.
For a neat finish, break off any excess length of the packers with a chisel before
removing all protective tape from the outside of the frame.
Ensure all dust is removed from the external surfaces and that the frame is clean.
Run masking tape along the edge of the frame to help create a neater finish before running a smooth bead of sealant between the frame and the brickwork.
Always seal below the external seal. Fit external trickle vents if they are required.
Check the operation of the window and make any adjustments needed before cleaning down the working area.
EXPRESS TRADE WINDOWS WILL SAVE YOU TIME, MONEY AND HASSLE
If you are in the Lincoln area, and need a trade depot that is going to look after you and your business, look no further than Express Trade Windows of Lincoln, we pride ourselves on taking care of our customers, giving you the best products and we will not be beaten on price, give us a call on 01522 516607 and price up your next job.